

Ground Game Hunting with ShotKam
 Written by Tom Sykes, Director of Sykes Media
Introduction
Ground game hunting is a vast and exciting subject that attracts hunters worldwide. It can range from the simplicity of shooting rabbits on farmland to pursuing plains game in Africa, and everything in between. Regardless of the type of quarry, the ability to capture moments and memories in the field is invaluable, particularly when the footage can be reviewed, offering snippets of information the human eye may overlook.

I have always been an advocate of using a ShotKam for all hunting, as I believe it provides content that can enhance our shooting skills and better understand our quarry. In this blog, I would like to explain how I optimize my ShotKam to maximize its features and potential during a hunt. Being based in the UK, the majority of our ground game consists of deer, rabbits, foxes, etc. However, the points I will address are universal for all forms of ground game quarry regardless of the location and hunting practices around the globe. This step-by-step guide explores how to effectively utilize the ShotKam when hunting ground game.
ShotKam Settings for Ground Game
Before venturing into the field, selecting the correct settings on a ShotKam is essential to optimize its performance during the hunt. This can be achieved either prior to or even during an anticipated outing. However, I prefer to organize as much gear as possible in advance to eliminate unnecessary stress, allowing me to focus on more critical aspects during the hunt. I always recommend fully charging the ShotKam overnight before heading out in the field to guarantee maximum battery performance and longevity.

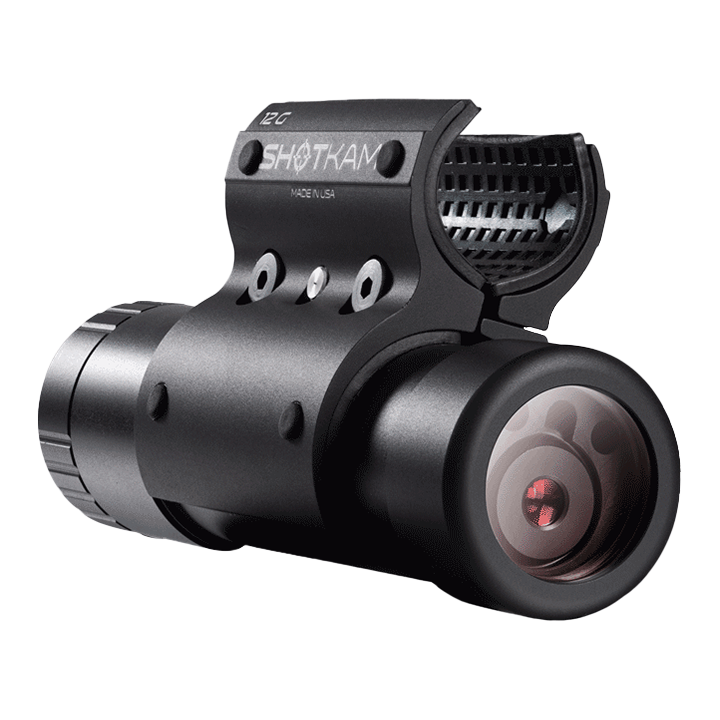
Once the ShotKam is fully charged, I attach it to my chosen firearm and ensure it is positioned correctly on the barrel. Recently, I have mounted the ShotKam to my rifle using the new Rail Mount, enabling me to attach the ShotKam to a scope Picatinny rail. My next task is to go through the camera's main settings to ensure everything is optimized for the style of hunting, and that the ShotKam is calibrated to my point of aim.
To optimize the ShotKam for ground game, turn the ShotKam on by holding the control button for 3-5 seconds to activate WiFi Mode. Connect your mobile device or tablet to the ShotKam's WiFi, then open the free ShotKam mobile app and tap the "Shooting Settings" icon. Set the target to "Ground Game" and ensure the shooting device is set to the appropriate firearm – rifle, semi-auto, or bow. This ensures the ShotKam detects the exact forces and movements required to save the shot. Return to the main menu and enter "Calibrate Device" to align the ShotKam with your firearm. Once calibrated, hit the "Save" icon and turn the ShotKam off with one click of the control button.
Sleep Disabled
An additional setting to consider adjusting when hunting ground game is the “Wake-Up Sensitivity.” Selecting “Sleep Disabled” within the ShotKam’s “Wake-Up Sensitivity” setting eliminates the necessity to bump the gun prior to the shot and thus reduces the amount of movement. Movement is a key indicator that can reveal a shooting position, so it is essential to reduce motion as much as possible to aid the success rate of a hunt.

With the sleep mode disabled, the ShotKam can now be turned on with a quick click of the control button and will remain awake for the duration, allowing it to detect any recoil and save the shot until it is turned off or the battery is depleted. With this setting selected, the battery life will last up to 2 hours for the Gen 4 and 1 hour for the Gen 3. To prolong the battery life in the field, I turn the ShotKam off during any lulls and back on before the action begins with a quick click of the control button.
To adjust the settings, turn the ShotKam on into WiFi mode, connect to a mobile device or tablet, and open the ShotKam app. Tap on “Wake-Up Sensitivity” and select “Sleep Disabled.” Return to the main menu and turn the ShotKam off with one click of the control button.
Preparing for the Shot
During the hunt, the ShotKam can remain off until the first sign of action. This may be the distant gobbles of turkeys, the dogs baying as a wild boar approaches, or that sixth sense hunters possess, signalling that something is about to happen. With the sleep mode disabled, the ShotKam can be swiftly turned on with a quick click of the control button and is ready for action. The camera will buffer the footage, awaiting the recoil to signal the device to save the clip. With the “Ground Game” target setting selected, the recorded clip after the shot will include 15 seconds pre-shot and 20 seconds post-shot. The footage captured is 35 seconds in real-time, resulting in a video clip of approximately 1 minute and 45 seconds, as the playback is at 1/3 speed.

When possible and safe, I will use this opportunity to capture as much footage as possible of the quarry approaching. This can be achieved by positioning the firearm and, subsequently, the ShotKam towards the quarry to film its approach. This often results in footage that can be studied after the hunt, offering a more in-depth look at the behavior and contributing factors. Maintaining the firearm in the optimal position for recording footage typically results in the gun being in the best position to take a shot when the opportunity presents itself.
As always with ShotKam, the sophisticated operating system effortlessly captures the shot on film. The ShotKam detects the recoil of the firearm and saves the clips in separate files, eliminating the need to manually record the shot and avoiding distractions. When shooting multiple targets, such as driven boar, the ShotKam will save additional shots as one clip if they occur within a 10-second interval, seamlessly merging the shots into one extended video.
Reviewing the Footage
A significant feature of the ShotKam is its capability to allow the footage to be reviewed in the field using the internal WiFi and the ShotKam mobile app. This serves as a great way to obtain instant feedback on what happened, whether to confirm the accuracy of the shot placement or simply to relive the moment.

To review footage in the field, turn the ShotKam on into WiFi mode by holding the control button for 3-5 seconds. Connect your mobile device or tablet to the ShotKam’s WiFi, then open the free ShotKam mobile app and tap the “Watch Videos” icon. Select the relevant video, and the app will download the footage from the ShotKam. Review the footage within the app, and if needed, save the footage to your phone’s gallery by clicking the three dots in the top right-hand corner and selecting “Save To Photos.” If you need to delete the footage from the ShotKam, select the “Delete” icon. Once finished, return to the main menu and turn the ShotKam off with one click of the control button.
In the Event of the Worst
Arguably, one of the worst scenarios for a hunter is tracking a wounded animal following an inaccurate shot placement. This is when the captured ShotKam footage can provide valuable information regarding the condition of the quarry. For instance, a bullet strike on a deer that was slightly further back than the anticipated heart-lung shot. In these unfortunate situations, the ability to assess the ShotKam video instantly in the field provides accurate feedback on the shot, significantly improving your chances of tracking and recovering the animal. While hunters hope to never find themselves in such situations, the reassuring ability to utilize ShotKam footage for this purpose is best practice for ethical and responsible hunters.
You are reading: