
How to Clean Your Shotgun and Stop Rust
Duck season might be over, but a summer storm never stopped a good day’s shooting, and the weather can still take a toll on your shotgun. Between storms halfway through a clay round, sweaty hands, humid air and coastal breezes, moisture can find its way into places you might not always check. And the last thing you want to discover before your next outing is rust on your favourite gun, even one that’s been sitting in the safe.
Fortunately, maintenance doesn’t have to be complicated. It starts with a quick wipe-down before you head home and a proper clean once you’re there. Here’s how to do both, with field-tested tips from ShotKam, the camera that fits under your barrel and films every shot.
What You’ll Need
You don’t need an elaborate cleaning kit, but having the right supplies on hand will make the job much easier. We’ll link some of our favourites throughout this article.
Cleaning essentials:
- Cleaning rod or bore snake
- Bronze brush and cleaning patches sized to your shotgun’s gauge
- Gun cleaning solvent
- Gun oil
- Soft, lint-free cloths or a silicone-treated gun cloth
- Small nylon brush or old toothbrush
- Cotton buds
- Choke key and choke grease (the type your choke manufacturer recommends)
Helpful extras:
- Wool mop for applying a light protective coating
- Cleaning mat to protect your work surface
- Corrosion protectant for wet or humid conditions
- Nitrile gloves for handling cleaning solvents
How to Clean Your Shotgun Step by Step
1. Unload and check twice.
Always point your shotgun in a safe direction and open the action. Check the chamber (or both chambers) and the magazine, then move all cartridges away from your cleaning area. Visually and physically confirm that the shotgun is completely unloaded.

2. Remove any accessories.
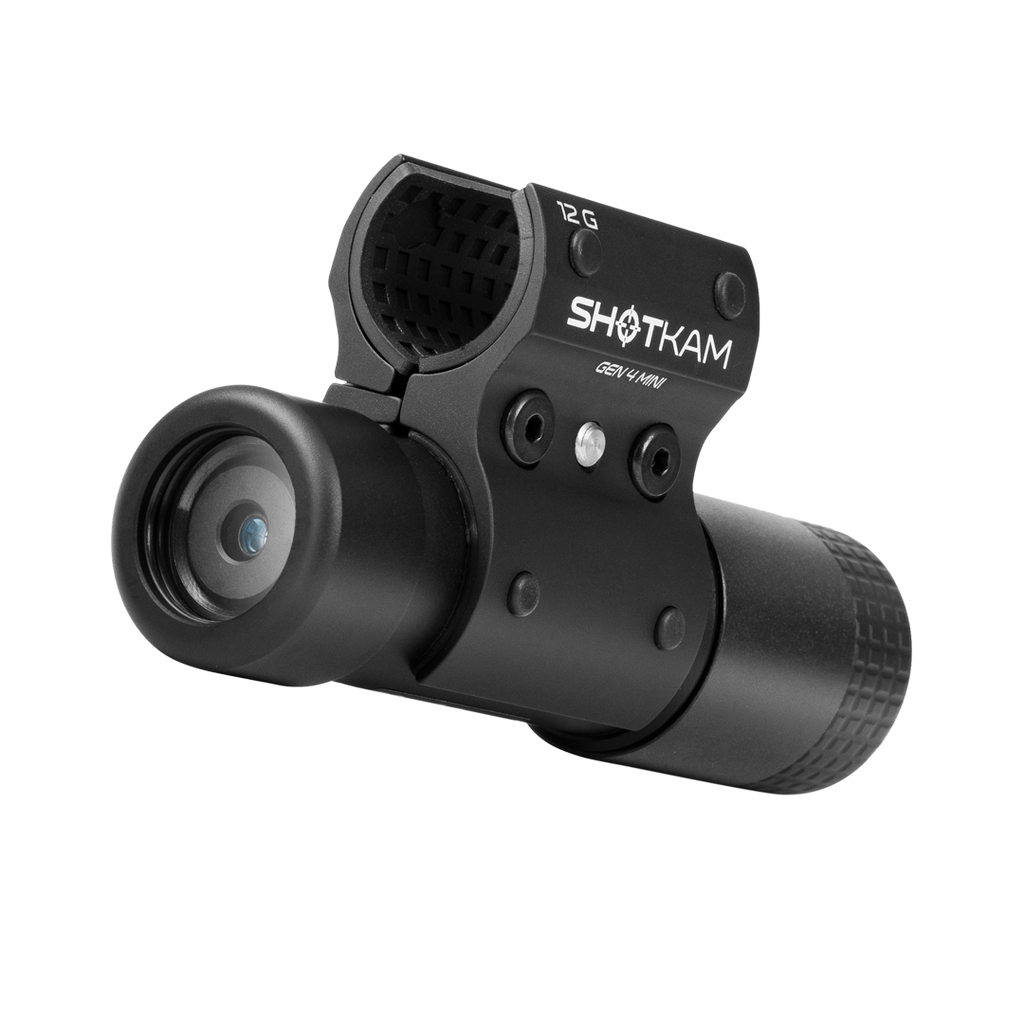
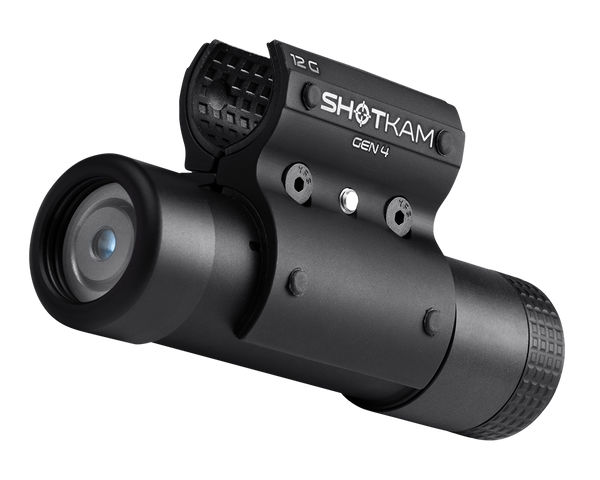
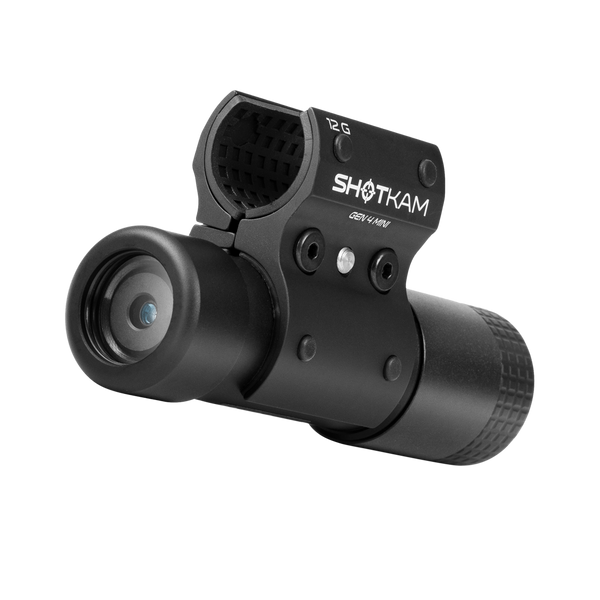
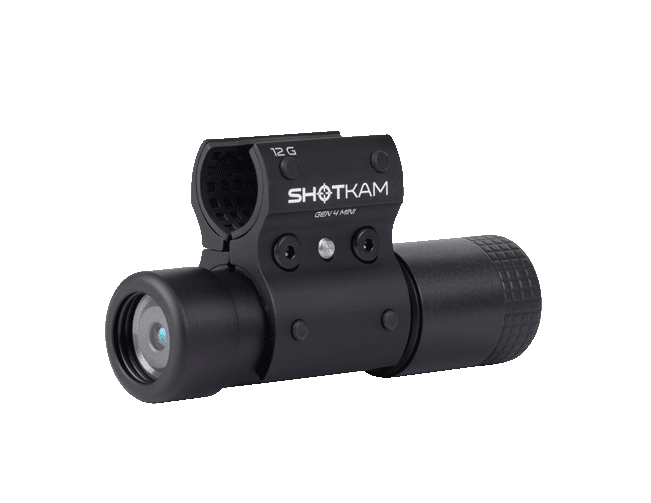
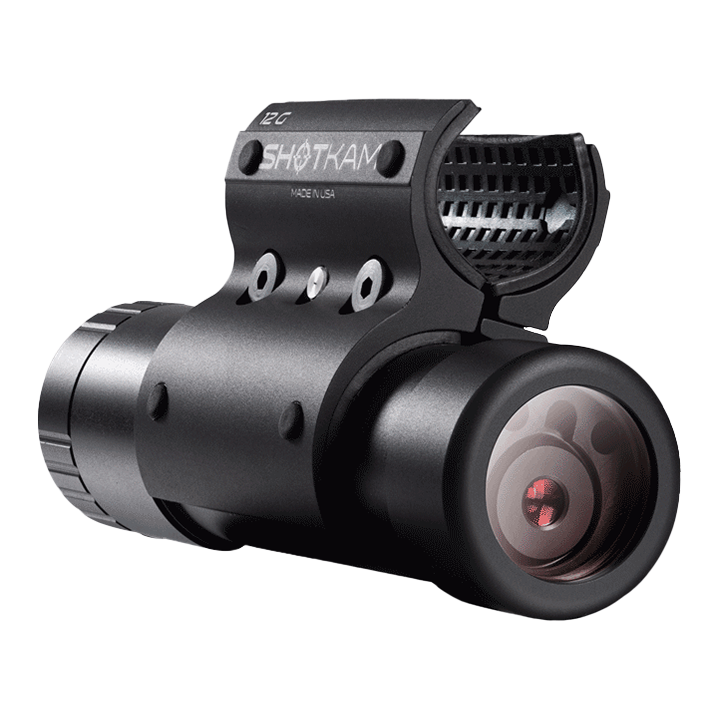
If you film your shooting with a ShotKam, take it off before cleaning. This protects the camera from cleaning solvents and lets you check the barrel beneath the mount for trapped moisture. We’ll cover how to remove it, and how to refit it, below.

3. Disassemble your shotgun.
If you’re unfamiliar with the process, don’t force anything apart. Your owner’s manual is always the best place to start. If you bought your gun second-hand and don’t have the manual, search YouTube for your make and model; you’ll likely find a helpful video. This is especially useful for guns that are trickier to take apart, like many semi-autos.
Semi-auto and pump-action: With the gun unloaded and the action open, unscrew the magazine cap at the front of the forend, then slide the barrel forward and off the receiver. On most semi-autos the forend comes off too; on many pump-actions it stays attached to the action.
Over-and-under and side-by-side: With the gun closed, release the forend catch (usually a lever underneath the forend or a push button near its tip) and lift the forend away. Then open the action fully and lift the barrels off the hinge pin.

Once it’s apart, use a clean, dry cloth to wipe away any visible moisture, especially beneath the forend and around metal components.
4. Clean the barrel.
Put a little bore solvent, like Hoppe’s No. 9, on the bronze brush and push it through from the chamber end several times. Follow with clean patches or a mop until they come out mostly clean. This clears out powder residue, plastic wad residue and trapped moisture, all of which can lead to rust and pitting.

Don’t forget the chokes! Use your choke key to unscrew each choke (check your manual first if you’re not sure how), then clean away any build-up around the chokes and threads. Apply a thin coat of choke grease, like Tetra Gun Grease, before refitting, and snug them down with the key, but be careful not to overtighten.
Steel and other non-toxic shot (required for duck hunting in Australia, and for waterfowl hunting within 200 metres of open water in New Zealand) won’t leave lead residue in the barrel, but plastic wads can leave build-up, especially around the choke. Give the barrel and choke an extra pass with the brush, and always make sure your choke is rated for steel shot before using it.
5. Clean the action.
Use an old, soft-bristled toothbrush and cotton buds to gently clean around the action and other accessible moving parts.
If you have a gas-operated semi-auto, check the gas system for build-up, which can interfere with how the gun loads and ejects cartridges. Follow your manual for cleaning instructions, as each model is different. Inertia-driven models, like the Benelli M2, don’t have a gas system, so you can skip this step.

On a break-action shotgun, pay extra attention to the hinge, ejectors and metal parts beneath the forend. Check these areas for trapped dirt and moisture, which can cause rust or make the shotgun harder to open and close.
6. Oil your shotgun.
Run a lightly oiled mop through the barrel, apply a small amount of oil to the moving parts (as the manufacturer recommends), and wipe the outside metal with a lightly oiled or silicone-treated gun cloth.

Remember, less is more! Excess oil can attract dust and grit, thicken in cold weather and even soak into wooden stocks.
7. Reassemble and check.
Put your shotgun back together by reversing the steps you took to take it apart. Your manual has the details for your model, and you can find helpful videos on YouTube (like this Browning over-and-under cleaning video). Then, with the gun still unloaded, check that:
- The action opens and closes smoothly and locks fully shut.
- The safety clicks firmly into each position, and the trigger won’t pull when it’s on.
- The barrel and forend sit tight, with no wobble or rattle.
- On a break-action, the top lever returns to centre when you close the gun.

If anything feels stiff or out of place, don’t force it. Take it apart and reassemble it again, and if it still isn’t right, have a gunsmith look at it before you use the shotgun again.
8. Store it dry.
Your shotgun is clean and ready for its next outing, but proper storage is just as important as cleaning. Don’t put it back in a damp gun bag, since trapped moisture can quickly undo all that hard work. Lock it away unloaded in your gun safe, as your state or licensing rules require, and add a rechargeable desiccant pack (like the Spika Rechargeable Dehumidifier) or a safe dehumidifier rod if humidity is an issue.
After a Wet or Muddy Day
Before heading home, give your shotgun a quick wipe-down so water doesn’t saturate the crevices. Once home, remove the forend, towel off any remaining moisture and let the parts air-dry at room temperature. Keep wooden stocks away from direct heat, which can dry the wood unevenly and cause damage. Then clean away mud or grit with an old toothbrush and gun solvent.
On a shotgun, rust can start faster than most shooters expect. Light surface rust (often called flash rust) can show up on bare or blued steel within a few hours to overnight if the gun is put away wet, especially in a gun bag or a hot, humid car or ute where moisture gets trapped. Salt water, mud, blood and even sweaty fingerprints speed it up further.
Near the Coast
Salt causes rust to form much faster, and a hot car is all it needs to get started. If you’ve been shooting near the coast, don’t wait until the next day to clean your shotgun.
Start by wiping salt residue from the outside metal with a cloth lightly dampened with fresh water, then dry it immediately. Follow your usual cleaning routine, paying extra attention to the action, screws and choke threads where salt can collect. And don’t forget your cartridges: salt can corrode them too, so give them a wipe before they go back in the bag.
ShotKam Pro Tip: Keep choke threads thoroughly greased with the manufacturer’s recommended grease. This helps prevent corrosion and stops the chokes from seizing inside the barrel. Salt can also corrode the black screws on your ShotKam mount. If they start to rust, there are spares included with your ShotKam accessories.
In Humid Weather
In the tropics and through a humid summer, rust can form even on a gun that hasn’t been fired. Sweat is salty, so wipe the metal with a silicone-treated cloth after handling your gun. Keep the safe dry with a desiccant pack or dehumidifier rod, and if a gun hasn’t been out for a while, take it out every few weeks to look it over and wipe it down.
Cleaning Around Your ShotKam
Your ShotKam’s mount is designed to come off and go back on quickly, so it’s easy to make it part of every clean.

To remove it: loosen the silver mounting screw with the Allen key supplied, open the mount fully and lift the camera away from the barrel. Wipe the camera, mount and the barrel underneath with a soft, dry cloth, and clear any water spots off the lens with a microfibre cloth. If your ShotKam got wet, unscrew the back cap and let it air-dry for 24 hours before refitting the cap.
To refit it: once your shotgun is clean and dry, wipe any excess oil off the section of barrel where the mount will sit so the rubber pads can grip. Position your ShotKam directly under the barrel with the USB port facing up towards the barrel. Open the mount fully, fit it from underneath rather than sliding it on so the bracket pads don’t bend, and tighten the silver screw with up to 2.3 kg (5 lb) of pressure.
If you’re refitting it in the same position on the same shotgun, you won’t need to recalibrate the reticle. You’ll only need to realign it in the app if you move it more than 5 cm in either direction, or switch to a different type of gun or gauge. For step-by-step instructions, see our Mounting and Calibration Guide.
ShotKam Pro Tip: If you can see the barrel in your footage, slide the ShotKam a little closer to the muzzle, then check the live view in the app to make sure there’s no dark or blurry arc at the top of the frame.
Ready for Your Next Outing
A little maintenance goes a long way. Give your shotgun a quick clean after every outing, a full clean whenever it gets wet, muddy or salty, and a deep clean before and after duck season. You’ll spend less time worrying about rust and more time enjoying your next day out.
Want more guides like this? Sign up for the ShotKam newsletter.
More Articles You Might Like

What ShotKam Taught Me About Shooting
Written by Tom Sykes, Content Creator and Social Media Manager for ShotKam Having shot for most of my life and reached a respectable sta...

Dove Hunting Q&A with David Stewart, ShotKam Founder
We sat down with David Stewart, founder of ShotKam and an experienced wingshooter of more than 40 years, to ask him for his best dove hun...